Back to: Web Design for All Ages
Testing the User Experience (UX) with Built-in Interactive Prototypes
One of the most powerful features built in to Adobe XD out-of-the-box is prototyping: the ability to quickly preview an interface without any coding. This is an important part of User Experience (UX) design. Integral to prototyping is the linking together multiple art boards by dragging handle connectors from one art board to another.
In this lesson, we are going to design a small website with three art boards (Home pg, About pg, & Blog pg) and link them together to form an interactive, working prototype that you can share online.
Activity: A Simple XD Prototype
Pre-requisites
This exercise assumes the following:
- You should already have an existing Adobe XD file already setup by completing the previous lesson. Your XD file should have a un-styled “grey” version of your home page with a header, hero, and footer. If you do not have one or have yet to complete the previous lessons, feel free to use this one.
- Your site header and footer should each have navigation links to three pages: Home, About, and Blog.
Step
1
Duplicate your Home page art board and create your About page art board
In Adobe XD, you can quickly and easily duplicate art boards by alt-clicking and dragging on the text of your art board label in the upper left corner of your art board. Once you have identified and isolated your un-styled “grey” home page, duplicate it and place it directly to the side and rename it to “About.”
Update the Hero section content
Next, change the hero section heading (h2) to say “About” and then change the text underneath it.
Update the Main “Lists” section content
Next, change the content of the lists to match the content of your coded websites, where the category titles are:
- Course Resources
- Technologies
- Tools
Within each category, you do not need to add any specific, individual links as content. Placeholder “List item” text will suffice.
Step
2
Duplicate your About page art board and create your Blog page art board
Duplicate your “About” art board by alt-clicking and dragging directly on the text label of the art board in the upper left corner. Place it to the side and and rename it to “Blog.”
Update the Hero section content
Next, change the hero section heading (h2) to say “Blog” and then change the text underneath it.
Update the Blog page main content area with placeholder blog posts
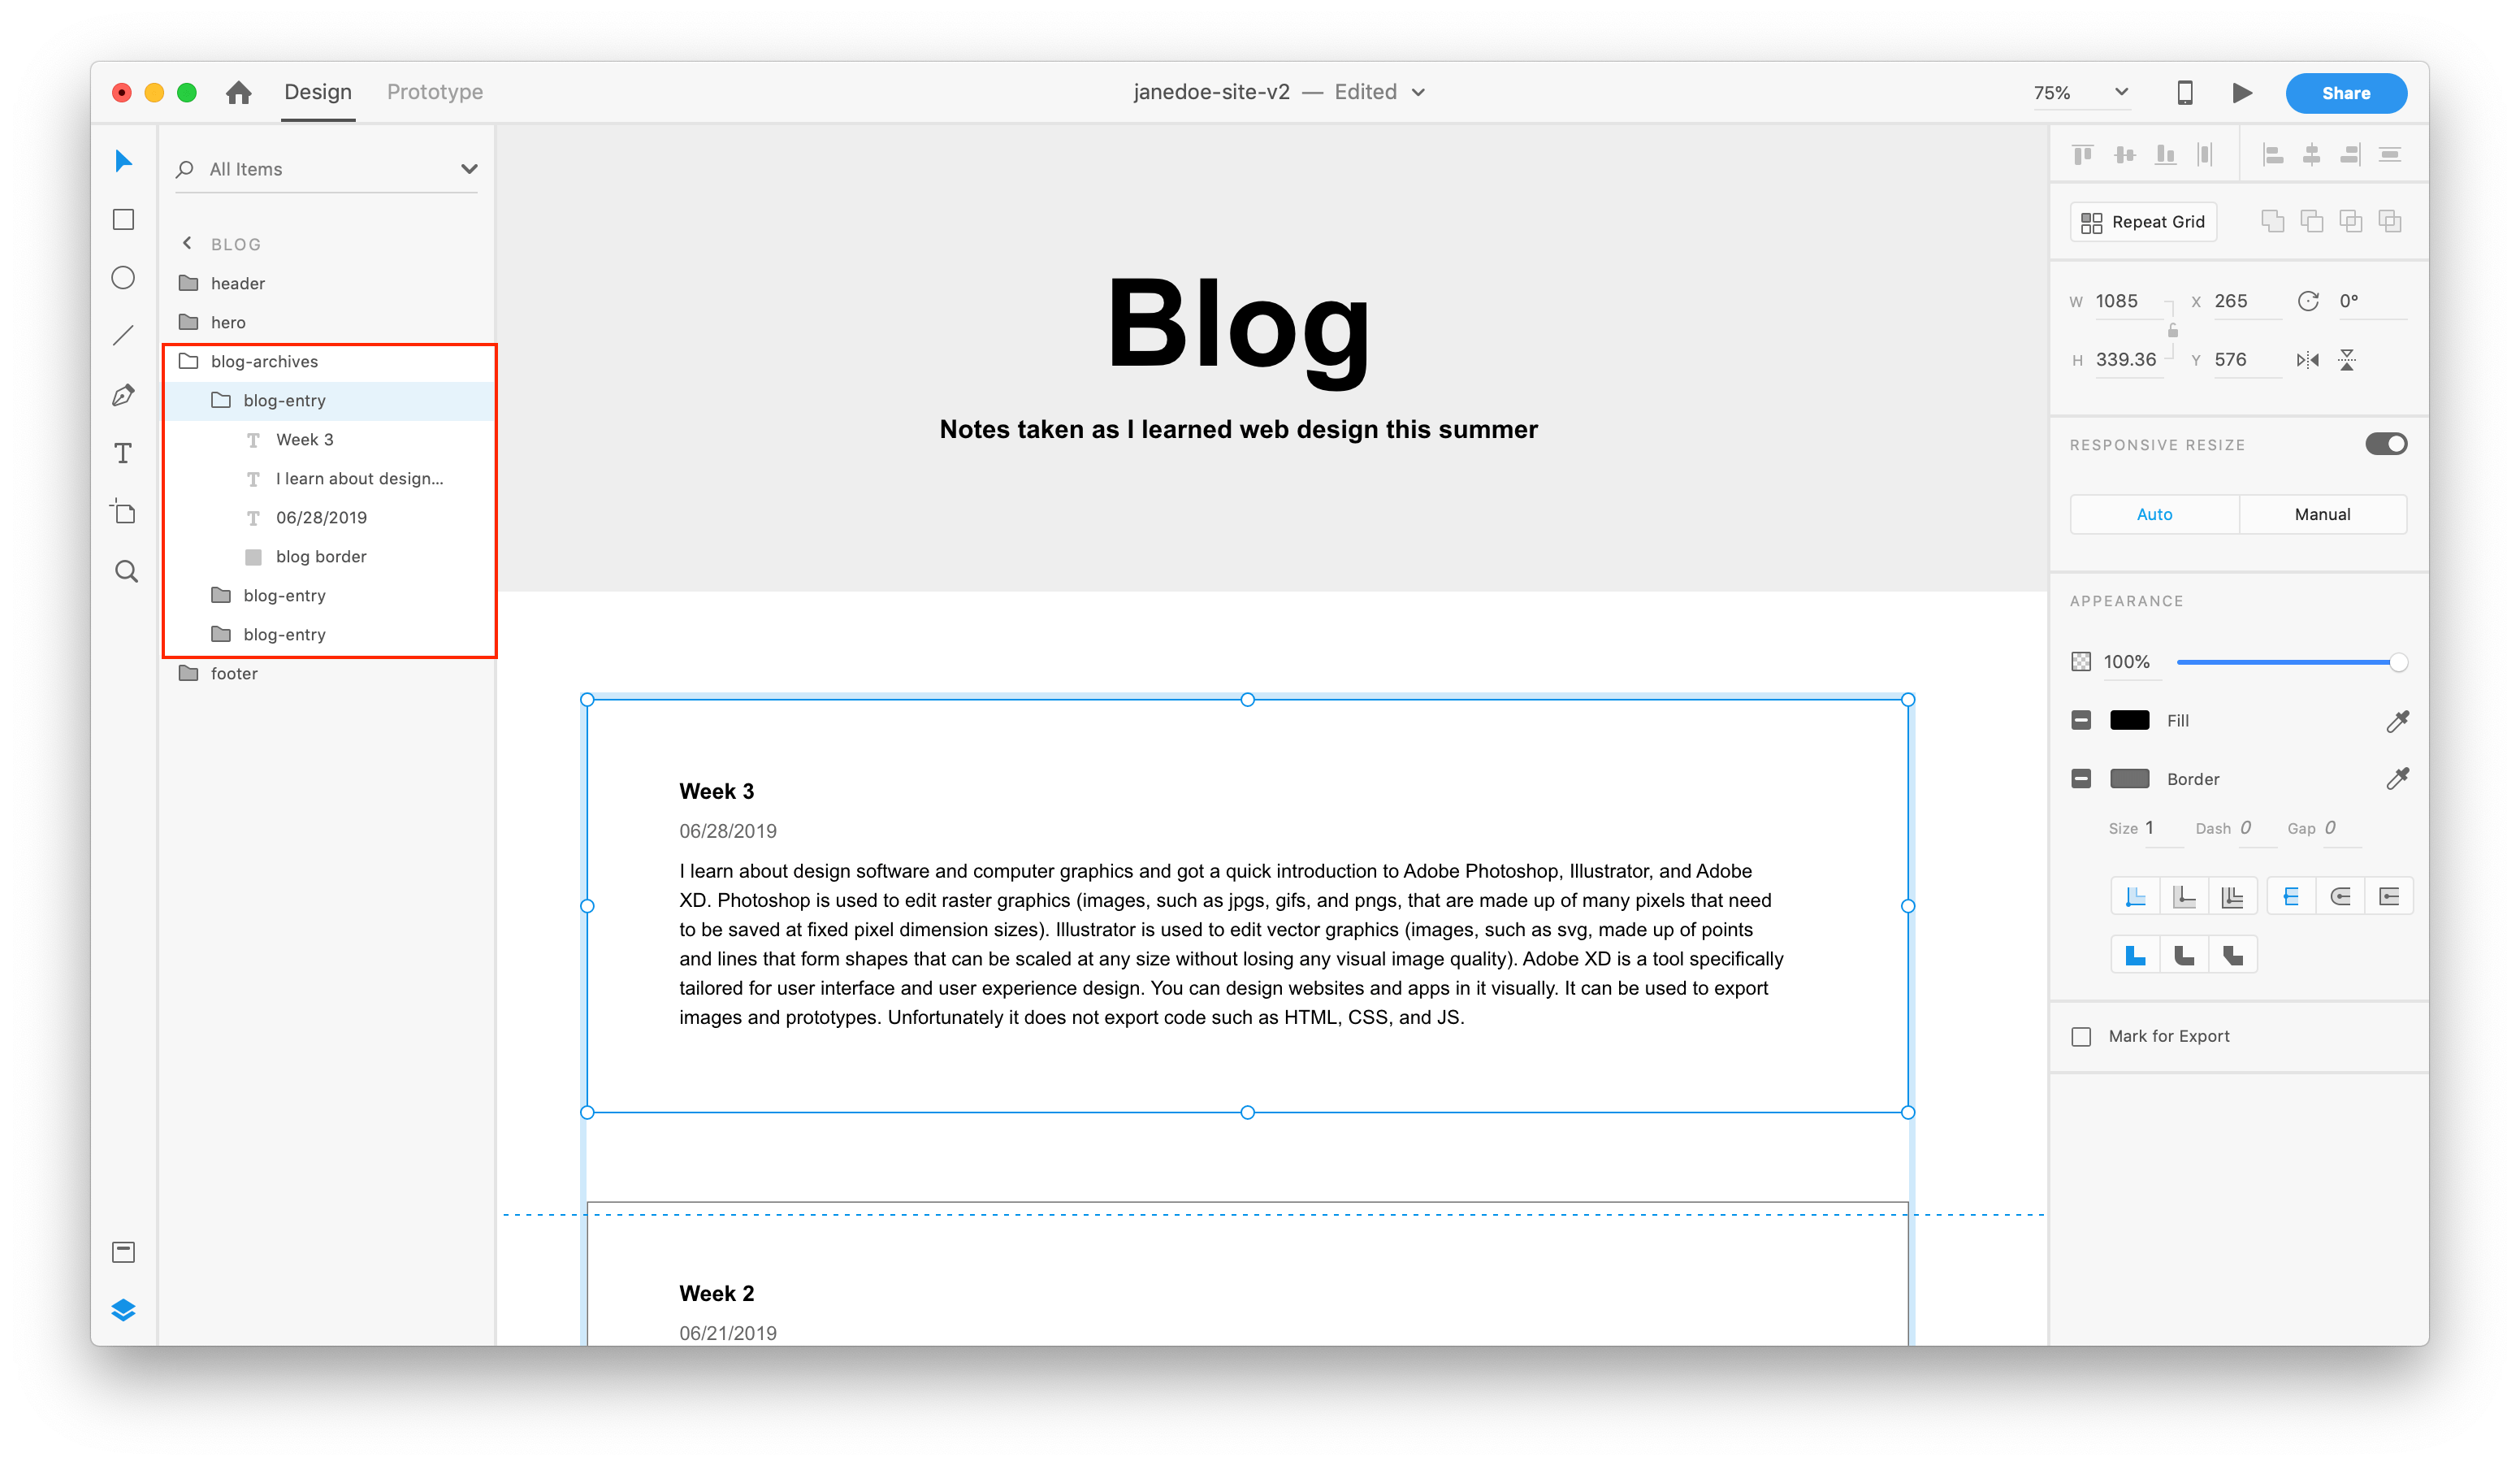
Delete out the lists sections and add in a few placeholder blog posts. Since the blog page is going to be longer than the other pages, first resize the art board to be bigger (at least twice as big, or ~2000px in height).
Then add in your blog entries, each one with a title, date, and text area.
Be sure to group each blog entry and placing them in the correct order in your layers panel.
Step
3
Create a Prototype by connect your art boards together via the text in your site’s navigation
In Adobe XD, switch from Design Mode to Prototype mode in the upper left corner of the interface. Starting with your home page header navigation, connect the “About” text to the About page art board.
Next, connect the About page “Home” text to the Home page art board. After you have these two pages connected, test your prototype by clicking on the Preview button (looks like a play button) in the upper right of the interface.

Connect all sub page art boards by linking all navigation text
Complete your prototype by linking each navigation text element to their respective art boards. You do not need to link the text from the current art board to itself (e.g. “Home” does not need to link to itself on the Home page, only on the About and Blog pages).
Share your Prototype
When you are done, you should test each and every link on all pages. Once your tests are complete and all links are working, you can share your art board via the “Share” link in the upper right hand corner of the interface and choose Share > “Share for Review.”

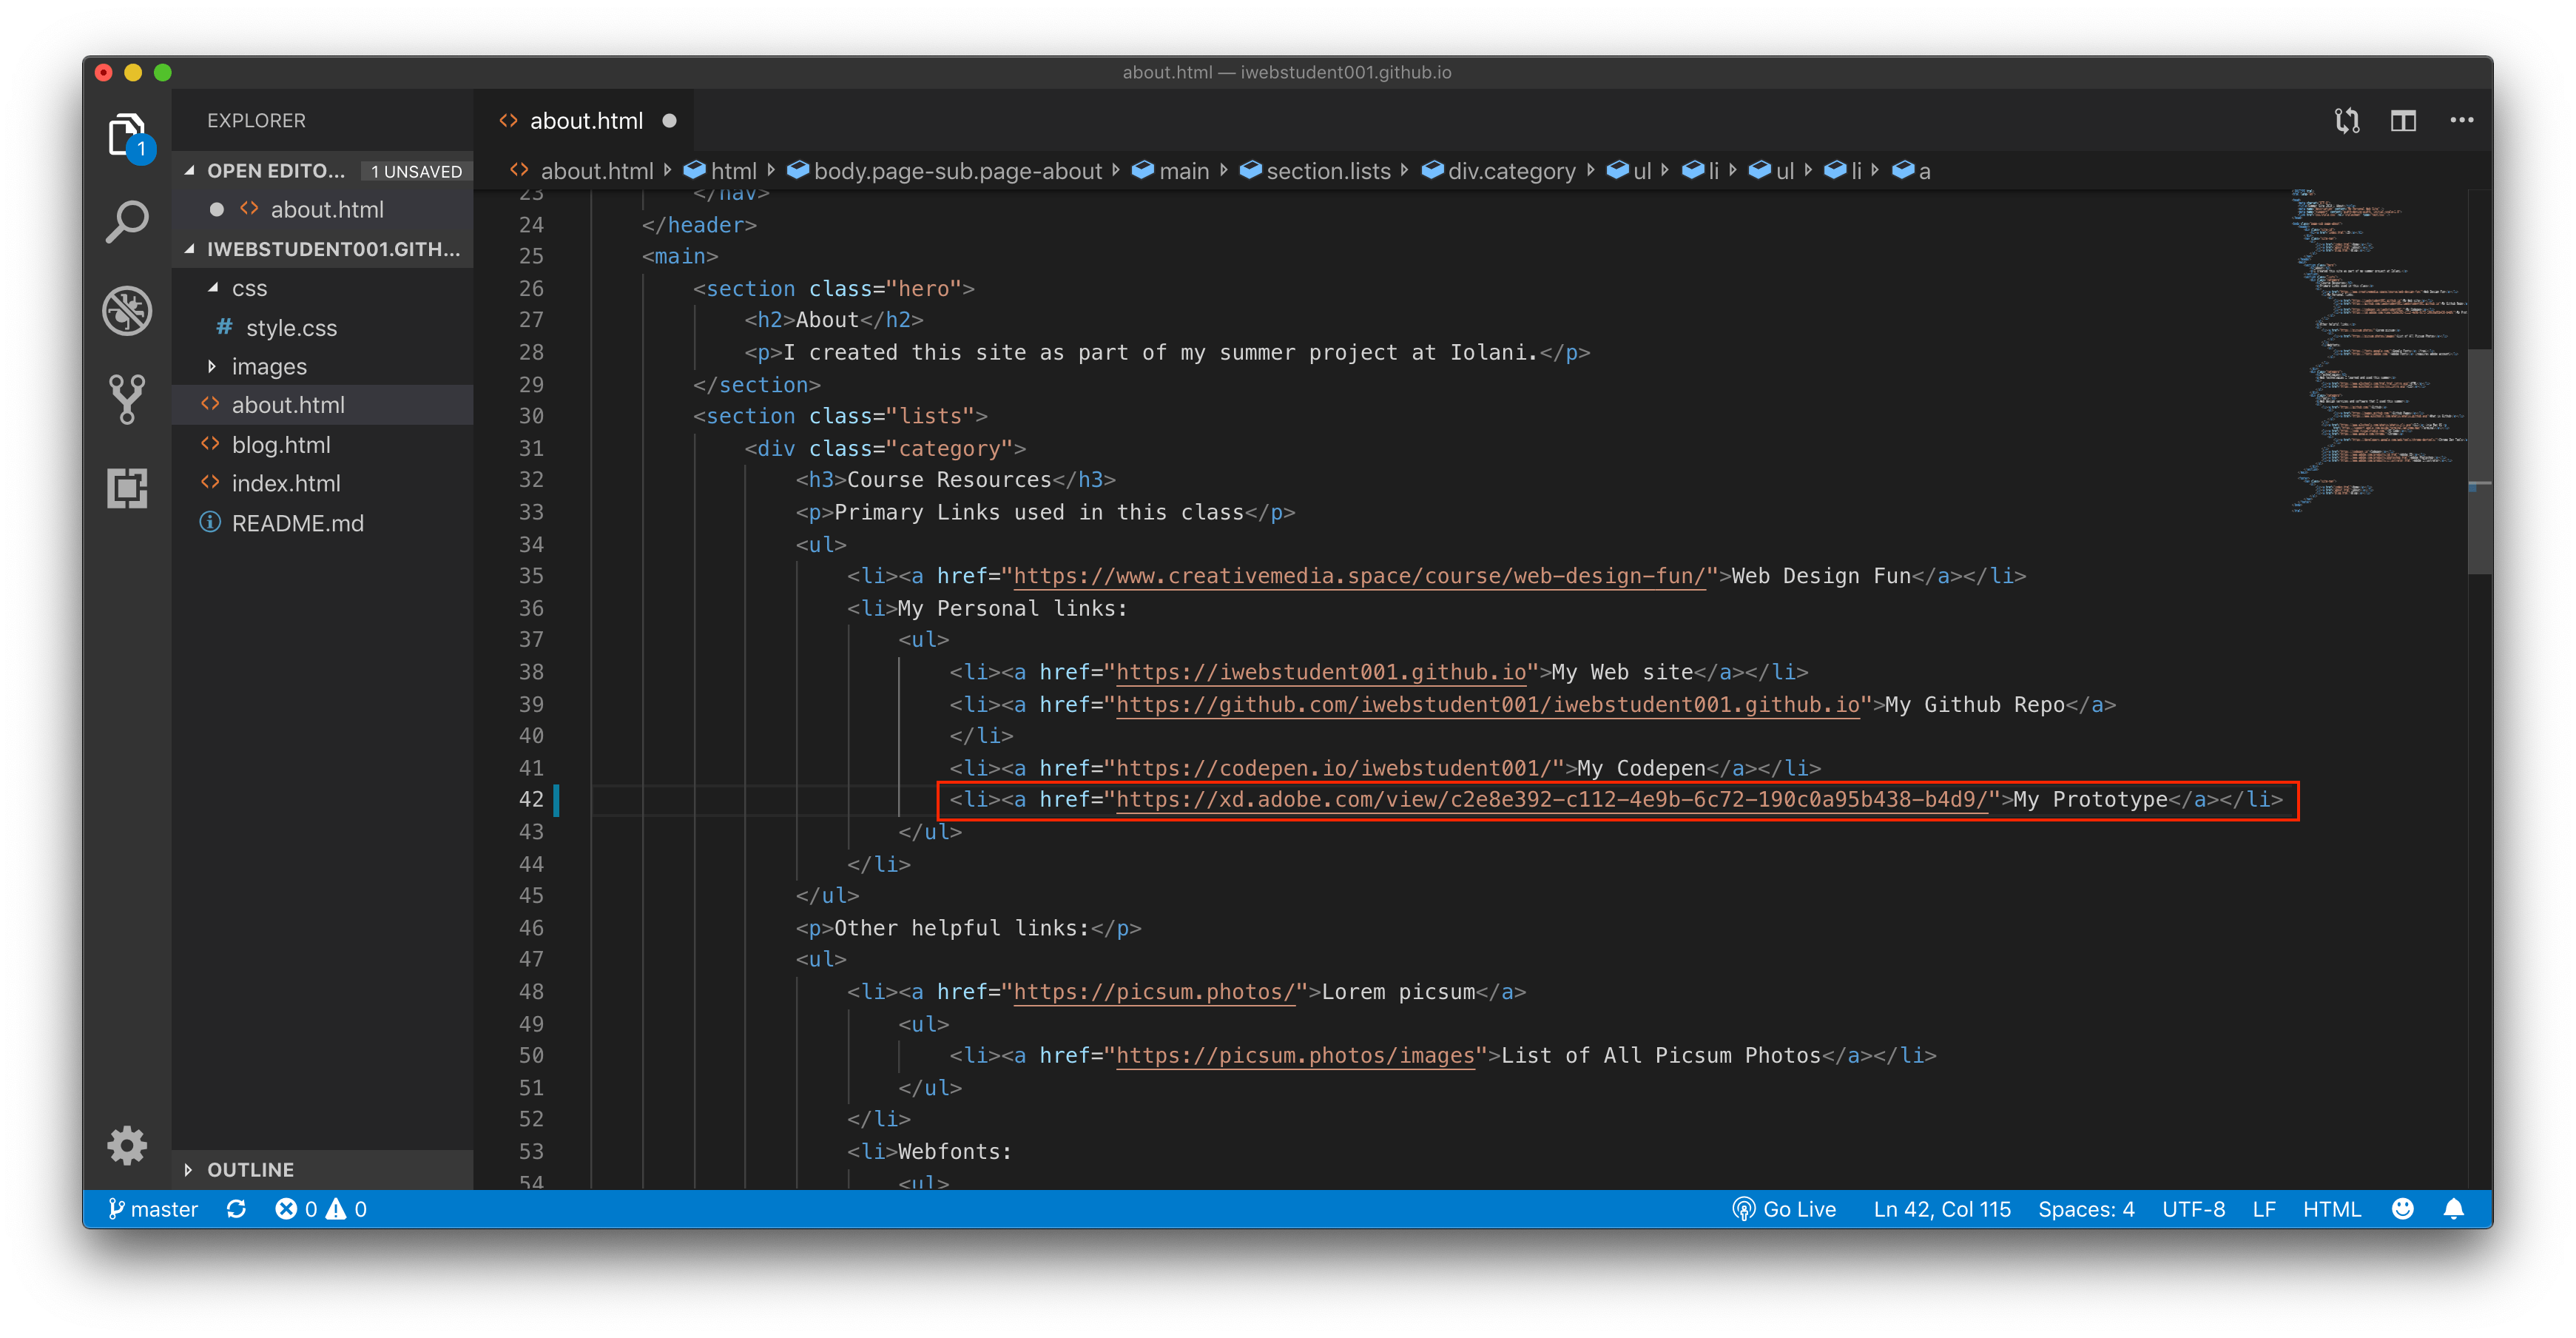
Be sure to note the path of the url because it contains a long string of numbers and can easily be confused when working with multiple shared prototypes. It will looks something like this:
https://xd.adobe.com/view/c2e8e392-c112-4e9b-6c72-190c0a95b438-b4d9/You can then share the link to your prototype from your coded website by copy-pasting the url address and adding it to your coded website in VS Code, just like iwebstudent01 (see the link to “My Prototype” link on the About page).
BONUS
*
Add colors to the Assets panel and change them across all art boards
When you are done with the prototype, switch back to Design mode and try changing the background color of your header bg layer(s). If you wanted to change all to say, blue, you’d have to repeat this three times. One way to avoid repetition in XD it to use colors in the Assets panel.
Add Header bg color and Hero bg colors to the Assets panel
Click on your “header bg” layer (be sure to select the header bg layer and not the header group), then open the Assets panel on the left and hit the + button next to the word Colors. If you header bg color is #cccccc, it will then add it to the Assets panel with the name “#CCCCCC.” To embrace the power of dynamic color assets in XD, rename the layer to something semantic, such as “Header bg color.”
Next, right-click the layer (control-click) and choose “Edit” to edit the color. If done correctly, when you change the color in the assets panel, all headers should across all art boards should change colors. Repeat this step for the hero bg layer as well.

Congratulations, you now have a working prototype that you can use to visually explore UI changes, such as color changes, quickly an easily, without writing any code at all.